Creating a Project
Important
When creating a project for the first time internet connection is required.
Note
Before creating a C++ project for the first time on a brand new computer, create a java project first. The C++ project creation seems to rely on a java dependecy.
Open the appropriate VS Code FRC VS Code 2020 and hit Ctrl + Shift + P or F1 to open the the command palette. In the command palette search for the command WPILib: Create a new project.

The project creation window will open up.
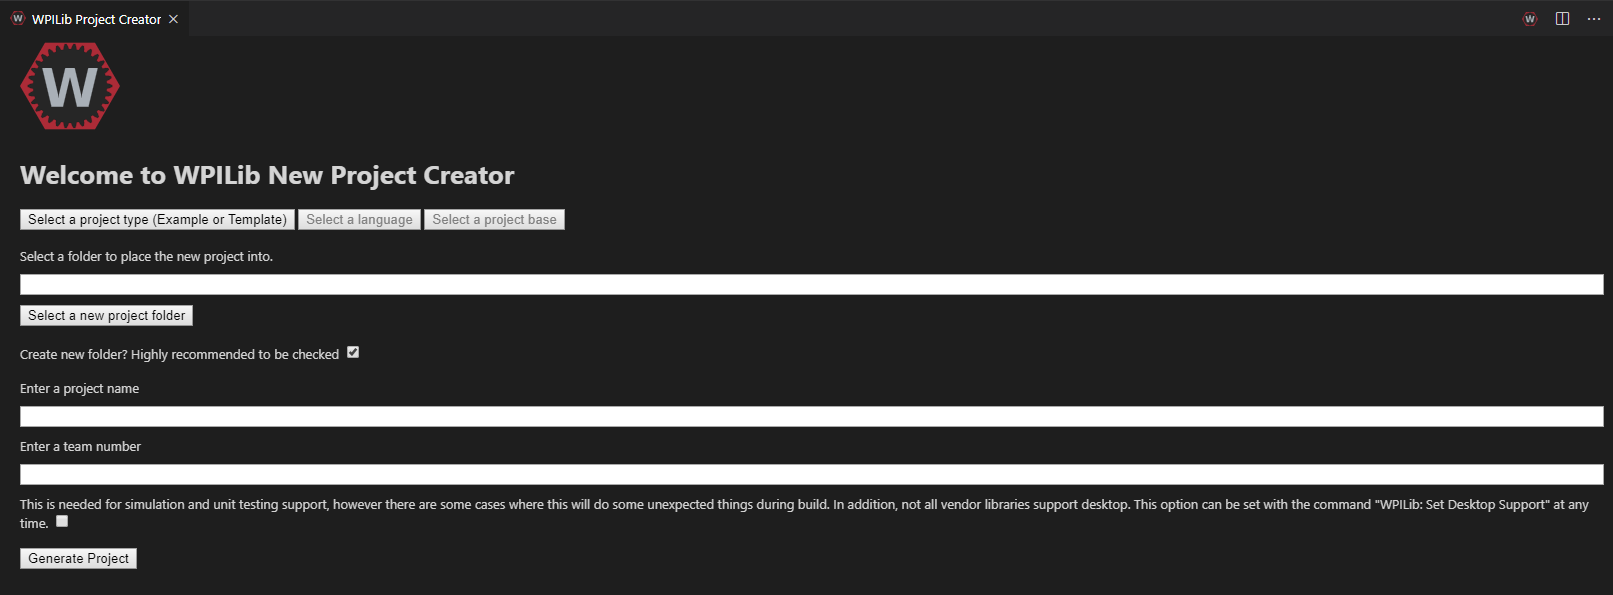
Start by clicking on the Select a project type(Example or Template) button and select
templateChoose a programming language by selecting the Select a language button. In this case
JavaFor Select a project base, select
Command RobotChoose a folder location to store the project
Enter an appropriate project name
Enter your team number
An example of a filled out project creator is shown below.

Hit Generate Project to finalize the creation of the project. There will be a prompt as shown to open in a new window or the current window. A new window will open another instance of VS Code whereas the current window will close the any open project you have and place this project in the currently opened VS Code window.

Note
The project will then automatically build for the first time. If the build is not successful, either VS Code and WPILib was installed incorrectly or you are not connected to the internet.
The VS Code window should now look like this and a Java project has been created!

Important
After creating a project it is always a good idea to run the Change the deploy target to VMX-Pi (from RoboRIO) command from the VMX-Pi WPILib extension.
Note
A computers anti-virus sometimes interferes with c++ projects, it is a good idea to have it disabled while working on code, compiling and deploying.
Open the appropriate VS Code FRC VS Code 2020 and hit Ctrl + Shift + P or F1 to open the the command palette. In the command palette search for the command WPILib: Create a new project.
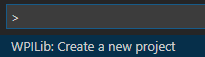
The project creation window will open up.

Start by clicking on the Select a project type(Example or Template) button and select
templateChoose a programming language by selecting the Select a language button. In this case
cppFor Select a project base, select
Command RobotChoose a folder location to store the project
Enter an appropriate project name
Enter your team number
An example of a filled out project creator is shown below.

Hit Generate Project to finalize the creation of the project. There will be a prompt as shown to open in a new window or the current window. A new window will open another instance of VS Code whereas the current window will close the any open project you have and place this project in the currently opened VS Code window.

Note
The project will then automatically build for the first time. If the build is not successful, either VS Code and WPILib was installed incorrectly or you are not connected to the internet.
The VS Code window should now look like this and a Java project has been created!

Important
After creating a project it is always a good idea to run the Change the deploy target to VMX-Pi (from RoboRIO) command from the VMX-Pi WPILib extension.